Ever since I was in grade school and saw a swim spa in a magazine, I knew I wanted one. Years later, after my daughter Jersey got her wish from the Children’s Wish Foundation, that dream started to take shape, though not in the way I expected. Jersey has congenital heart disease and could never enjoy the cold water of a regular kids’ pool. We had an old hot tub for a while, but when it died, we knew we’d need to replace it with something she could actually use.
What we didn’t expect was finding a used swim spa just as our backyard deck started falling apart. The timing was perfect. We weren’t sure how it would fit or if the yard could handle it, but I started designing a few layouts in Minecraft to get a better sense of what might work. It turned out to be one of the best tools we could’ve used.
If you’re looking for practical swim spa deck ideas that work in real backyards, not just Pinterest-perfect ones, this post shares the exact planning tips and layout process we used, plus things we learned along the way.
Why Plan Your Swim Spa Deck Before You Buy
It’s easy to get caught up in choosing the spa, the size, the jets, the fancy lighting. But before anything gets delivered, the biggest decision is how it’ll actually fit into your space. Without a plan, even the nicest swim spa can feel awkward in a backyard that wasn’t ready for it.
Planning ahead means you can avoid expensive fixes and design a space that feels intentional. Things like electrical access, drainage, sun exposure, and privacy all play a role in how enjoyable (or frustrating) the final setup becomes.
If you’re replacing a hot tub, it might seem like a simple swap, but swim spas are much longer and heavier. You’ll likely need a new foundation and a different deck layout, especially if your existing one is aging or not up to code.
We learned that early planning saved us a lot of second-guessing. Having a visual mock-up made it easier to know where to place the spa, how to shape the deck around it, and what to keep accessible for maintenance later on. Whether you use paper, a 3D tool, or even Minecraft like we did, start with the space, not just the spa.
Using Minecraft (or 3D Planning Tools) to Design Your Deck
Grid paper only got us so far. I wanted to see how everything would actually look and feel in our yard, where the stairs would go, how much room we’d have to walk around, and whether the deck would make sense once the spa was in place.
That’s when I opened up Minecraft.
It sounds unconventional, but mapping out our backyard block by block gave us a full 3D view of the space. I matched one Minecraft block to one foot of real space and laid out the swim spa, the deck, and even walkways. It was the only way to get the spacing right without guessing, and it worked.

For families, this can be a fun weekend project. But even if you’re not into Minecraft, other free tools like SketchUp or RoomSketcher can help you plan in 3D. Just make sure whatever tool you use lets you:

- Adjust dimensions to match your space
- Account for elevation changes or stairs
- Visualize access points and cover clearance
Planning in 3D makes it much easier to spot awkward layouts before you build. It also helps if you’re working with a contractor, showing them a mock-up can save a lot of back and forth.

Laying the Groundwork — Concrete Pad and Crane Delivery
Once we had the layout figured out, the first real step was prepping the base. Swim spas are heavy, much heavier than a regular hot tub, so a solid foundation isn’t optional. We had to pour a concrete pad that was both level and thick enough to hold the weight, especially once the spa was filled with water and people.
If you’re working with a contractor, ask them to confirm the weight limits of the base and check for any permits required in your area. If your backyard has a slope or soft ground, the prep might take longer than expected.
Then came the part we were most nervous about: getting the swim spa into place.
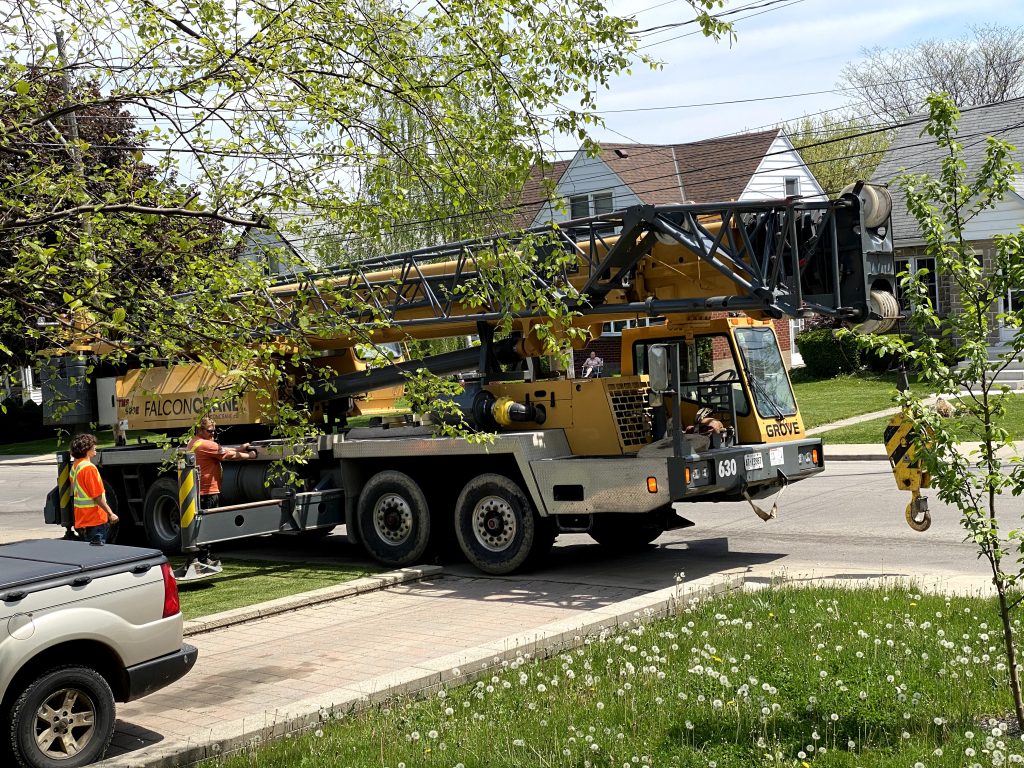
Because of how our house and backyard are laid out, a standard delivery wasn’t going to cut it. We needed a crane. Watching it lift the swim spa over the roof and lower it into the exact spot was both nerve-wracking and surreal, especially after all the planning in Minecraft. It landed within inches of where we had mapped it out.
If you’re buying a spa second-hand or from a local seller, make sure to ask early whether a crane will be needed and what access they’ll require. We had to move fences and clear space along the side of the house. It’s one of those steps that can turn into a headache if you leave it too late.
Building the Deck Around a Swim Spa
With the spa in place, the next challenge was building a deck that made it feel like it belonged there all along. We had to think about how high to build it, where to add steps, and how to make sure it didn’t block access to the swim spa panels for future maintenance.
One of the biggest decisions was material. We went with pressure-treated lumber because it was more affordable, but composite decking is another good option if you want something low maintenance. Either way, make sure your framing is strong, swim spa decks need to handle not just the usual foot traffic but also splashes, moisture, and shifting temperatures year-round.
Here are a few things we found helpful while building around the spa:
- Leave access panels exposed: You’ll regret boxing in the sides if anything ever needs repair.
- Plan for water runoff: Add a slight slope or drainage gap so water doesn’t sit and rot the wood.
- Think beyond the box: If space allows, wrap the deck in an L-shape or create multiple levels to separate seating areas from the spa.
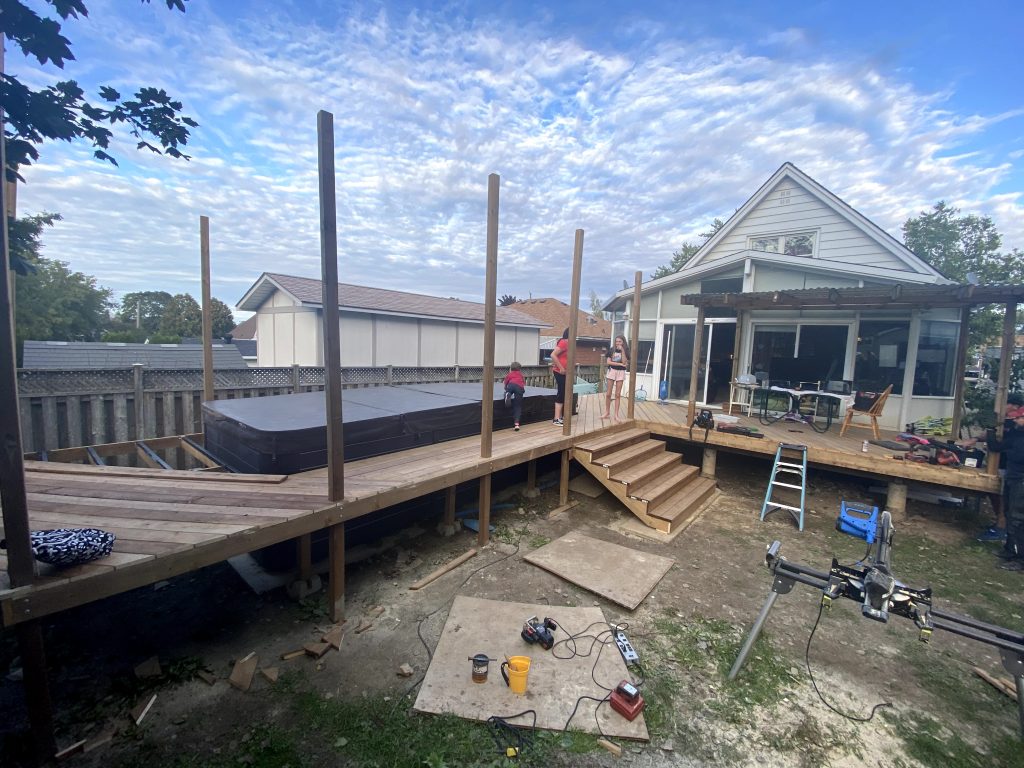
We didn’t build the entire thing at once. Instead, we started with the area closest to the spa so we could use it right away, then added onto it over time. That made the project more manageable, and less overwhelming.
Real-Life Photos and Results
Sometimes the best way to picture your own backyard project is by seeing how someone else pulled it off. Our setup wasn’t perfect or professionally designed — it was practical, done in stages, and based on what we could manage with a growing family and a budget.
Here’s how it came together, step by step:
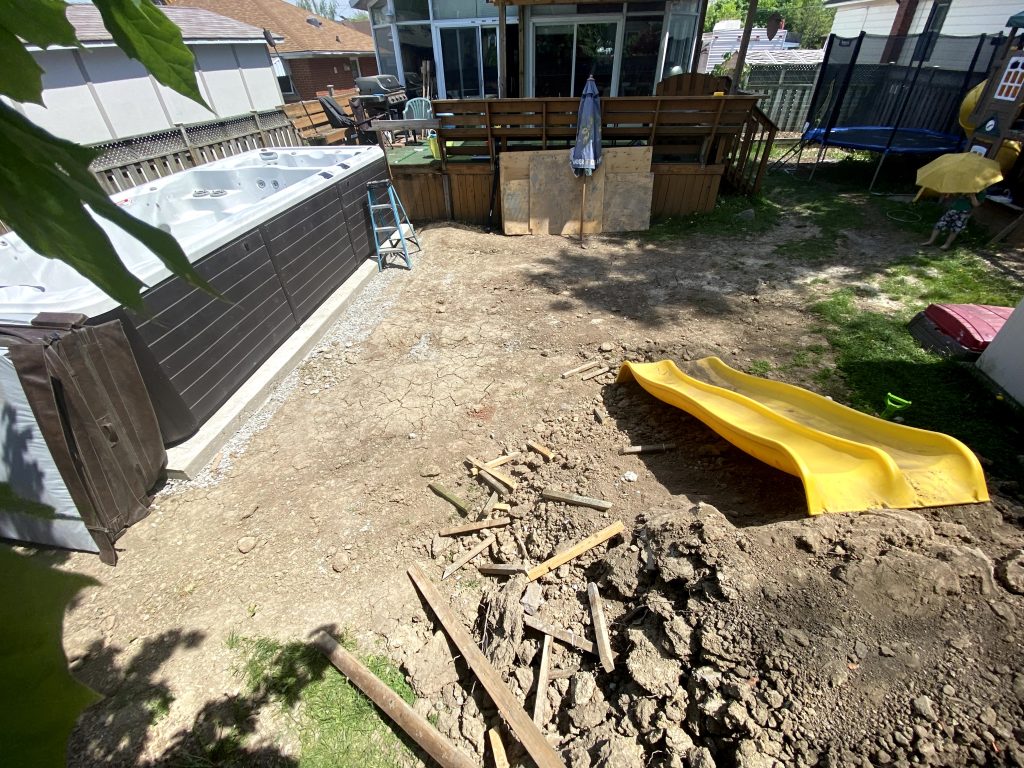
- Before: Just grass and an old deck that had started to rot and sink in spots.
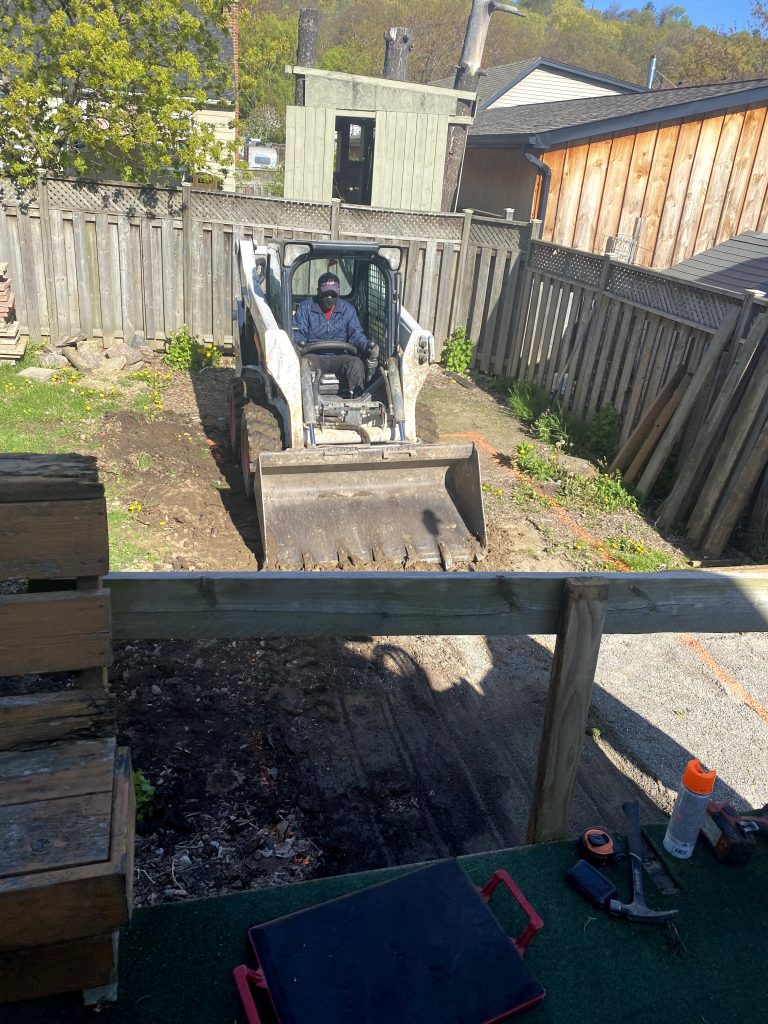
- Prep: We dug out the space, cleared debris, and laid the concrete pad for a solid foundation.
- Delivery Day: The crane arrived early and lifted the spa clean over our roof. It was wild to watch it float into place after so much planning.
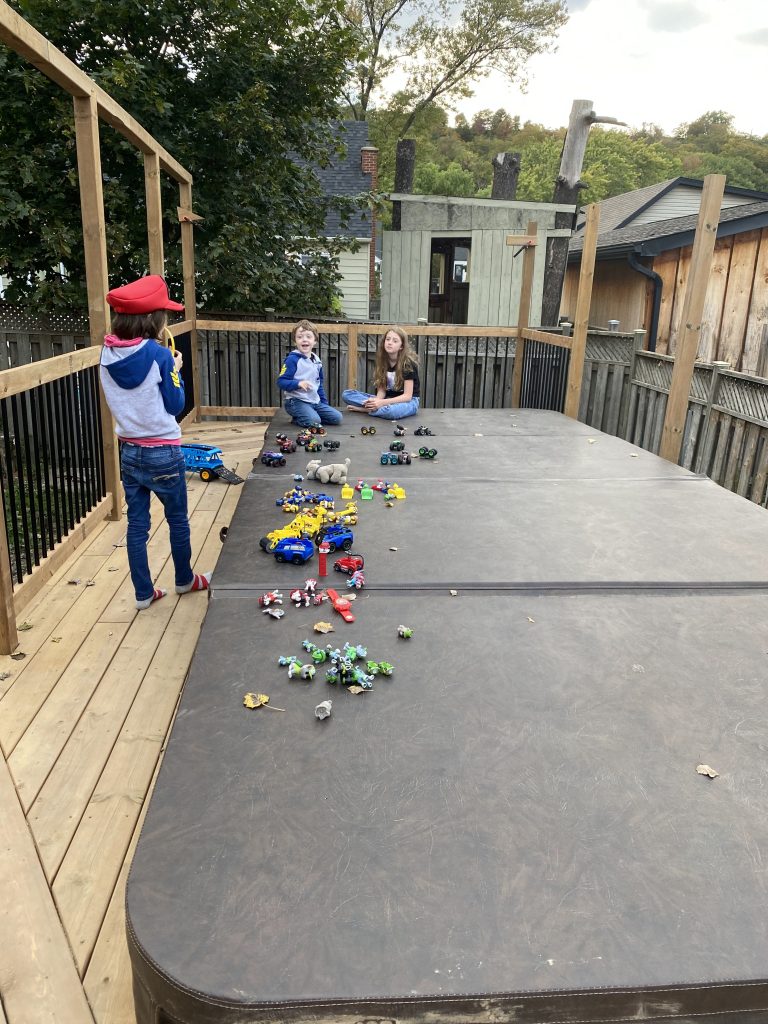
- Clean Out: Before filling it, we flushed the spa lines and checked all jets to make sure everything was running smoothly.
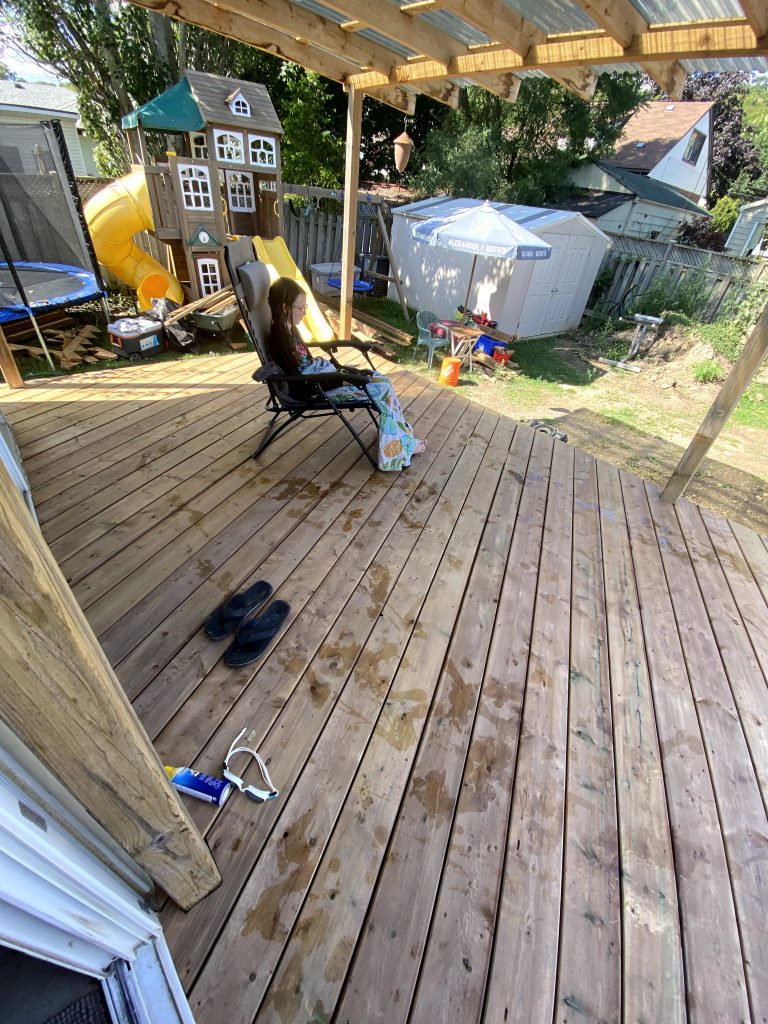
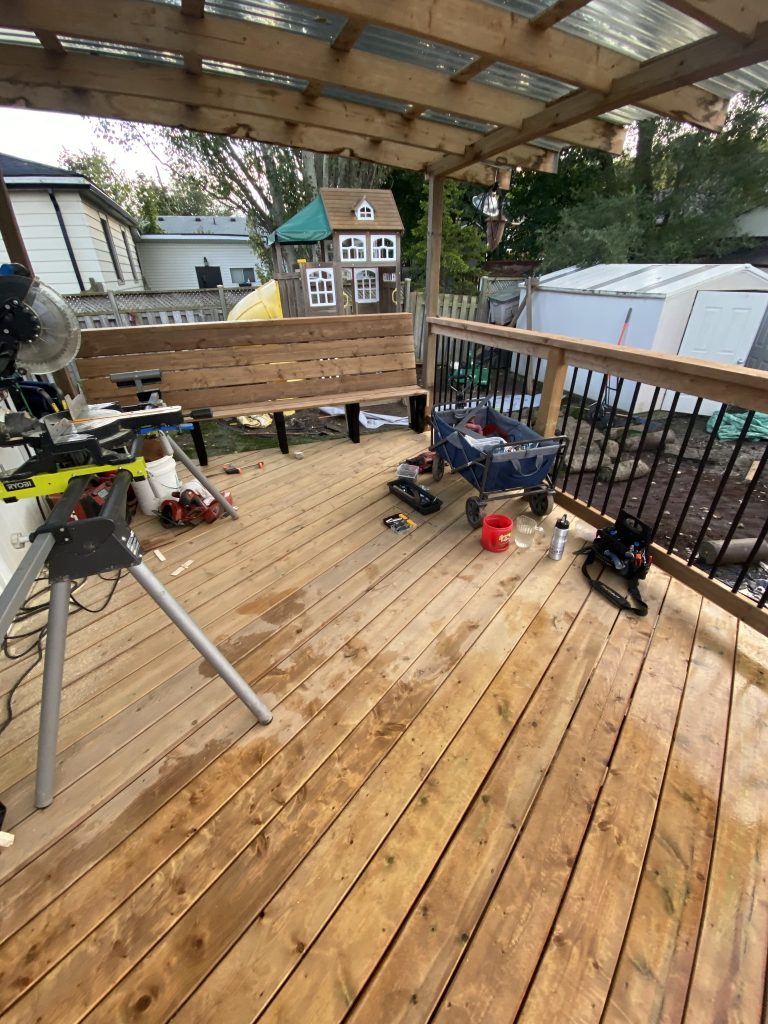
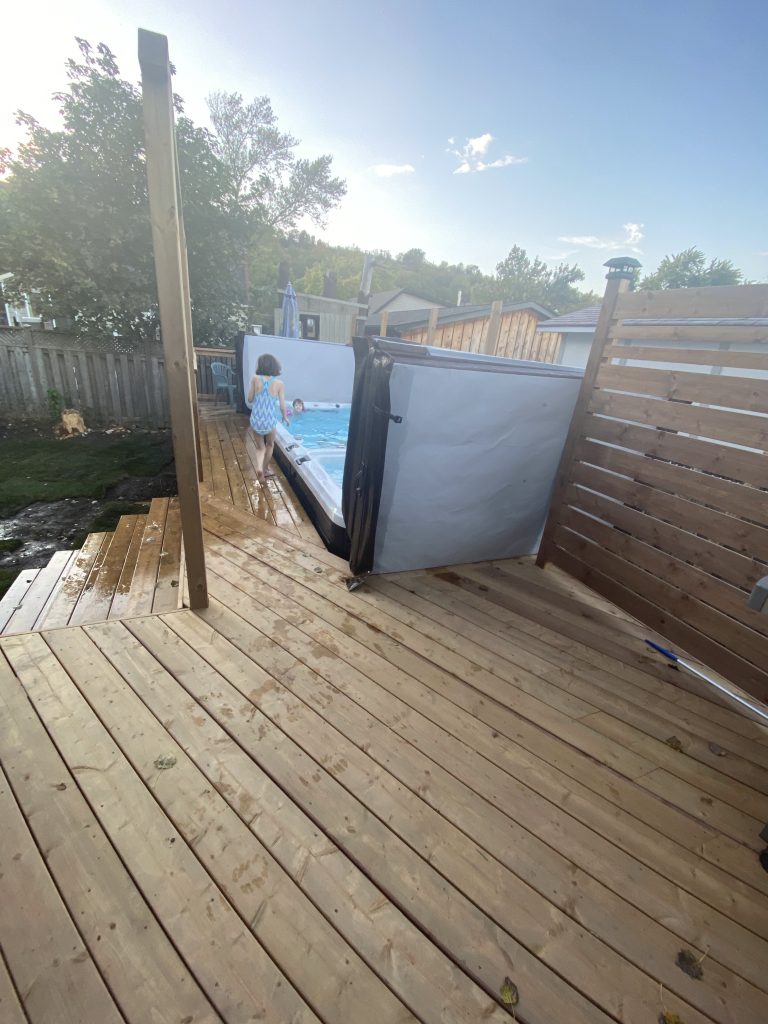
- Building Begins: We framed around the spa first, leaving access to the sides, then gradually extended the deck outward to create a sitting area.
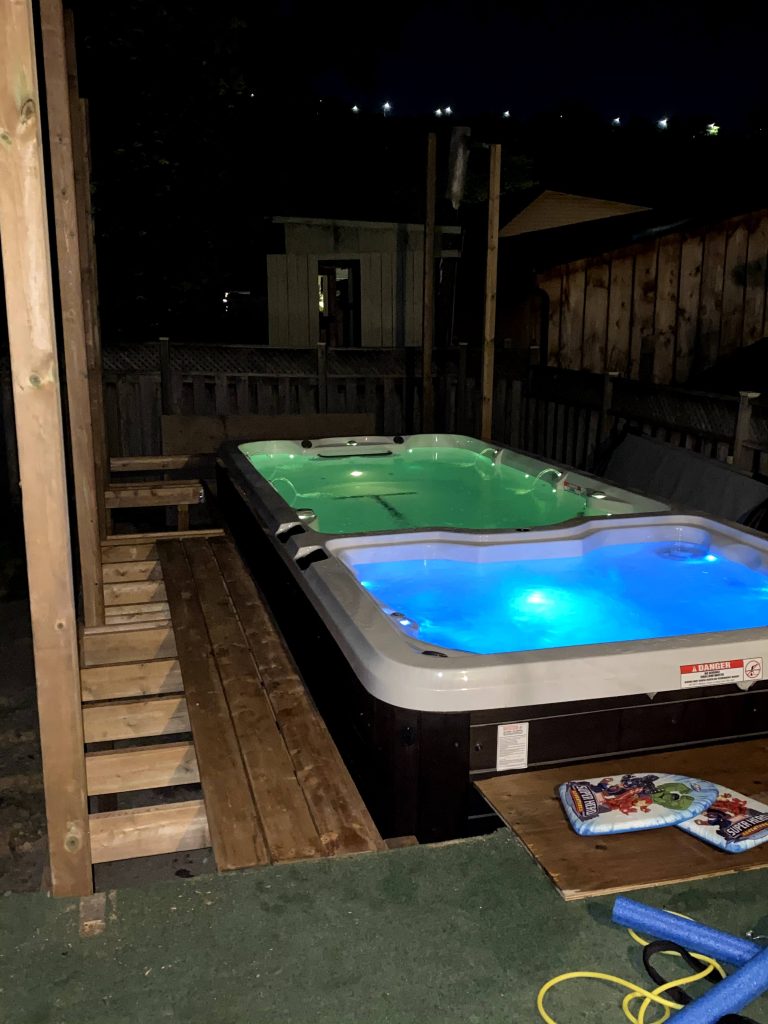
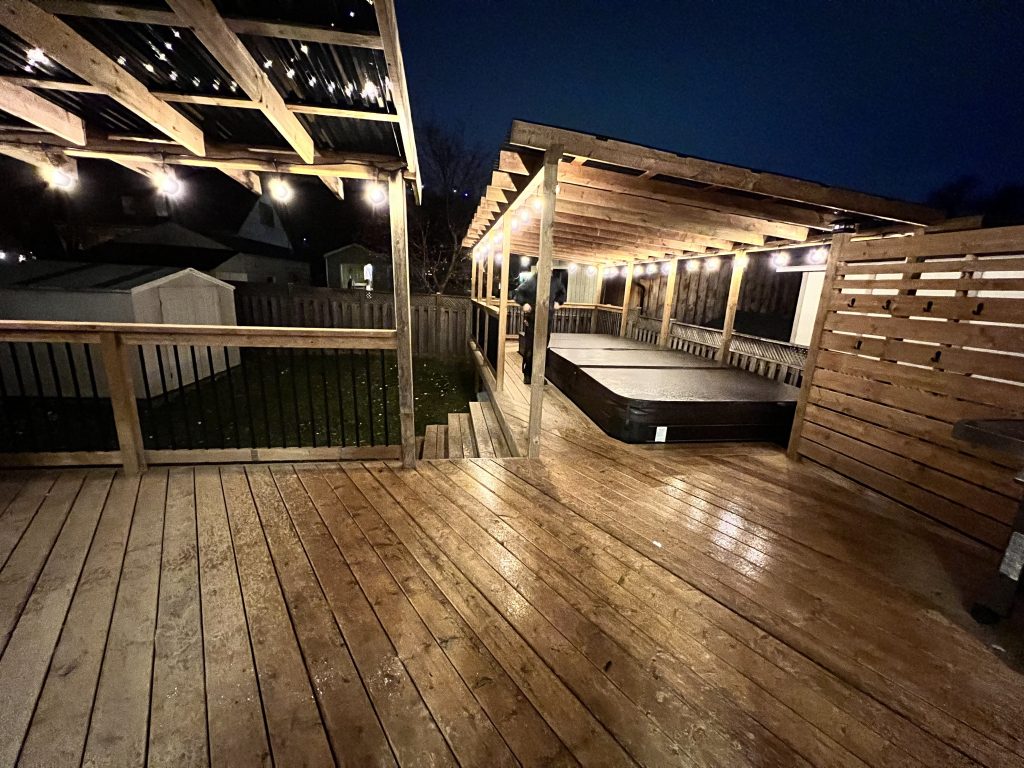
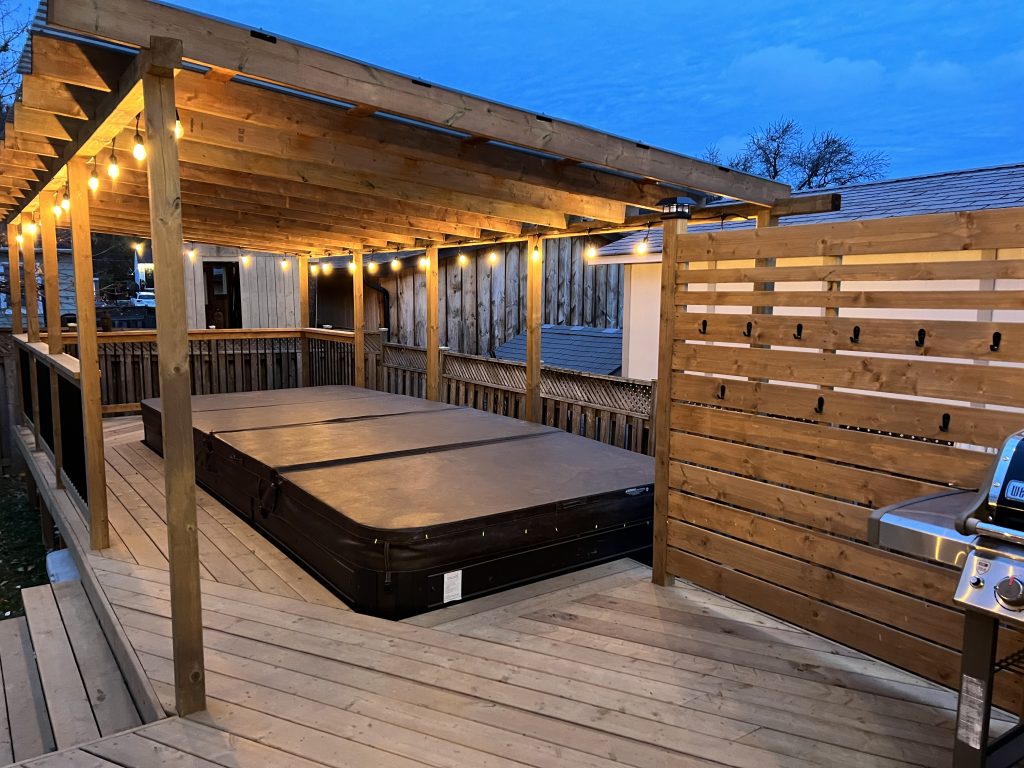
- Final Touches: We added lighting, towel hooks, and a bench for quick changes or gear. Nothing fancy, just useful.
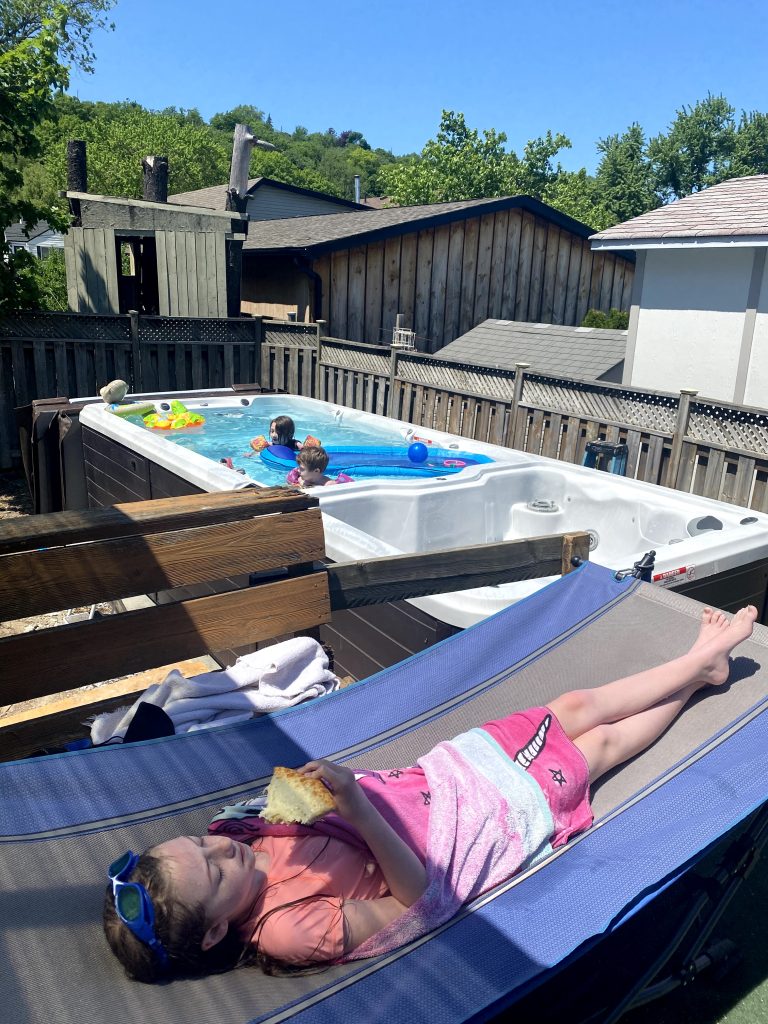
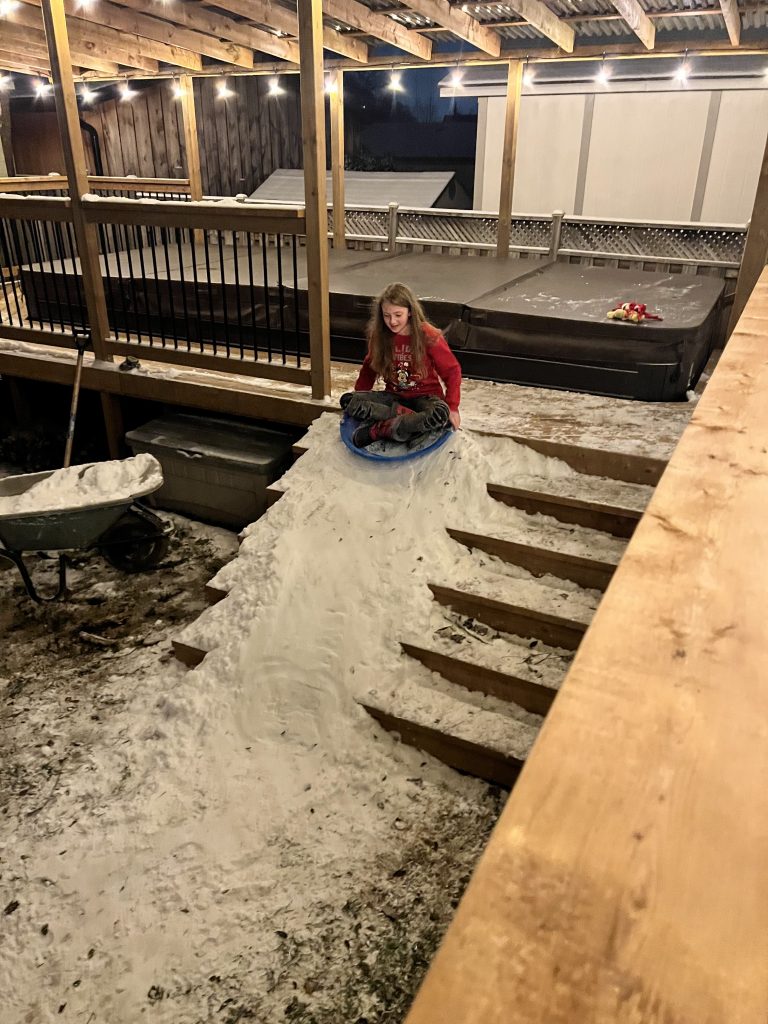
The end result isn’t just functional — it feels like part of the yard now. And more importantly, it’s something our whole family can actually use. Jersey isn’t limited by cold water anymore, and we don’t have to step around an awkward spa dropped in the middle of the lawn.
If you’re on the fence about whether a swim spa can work in your yard, photos and planning go hand in hand. Visuals help you see what’s possible. The build process just brings it to life.
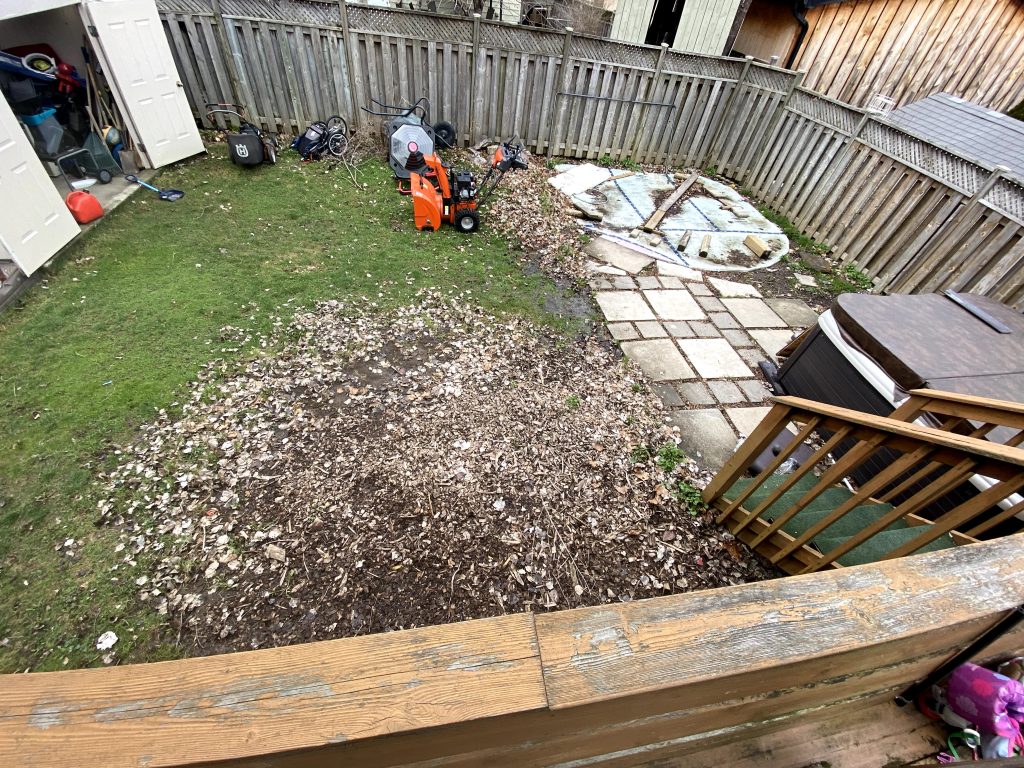
The backyard before the transformation.
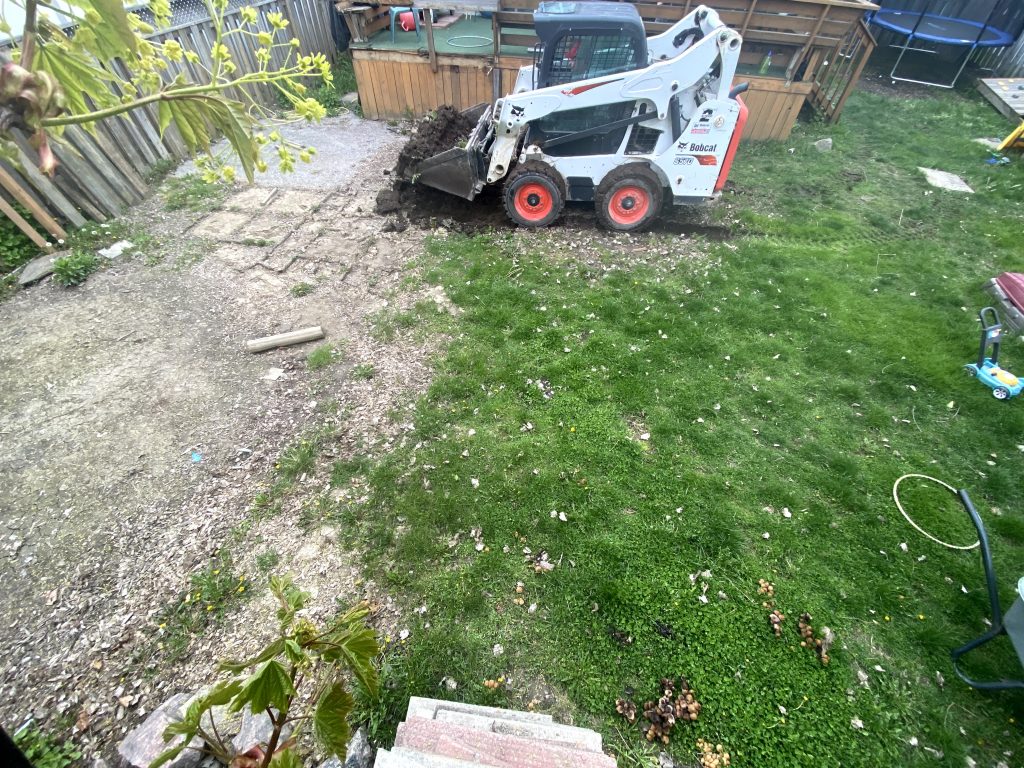
Digging up the backyard.
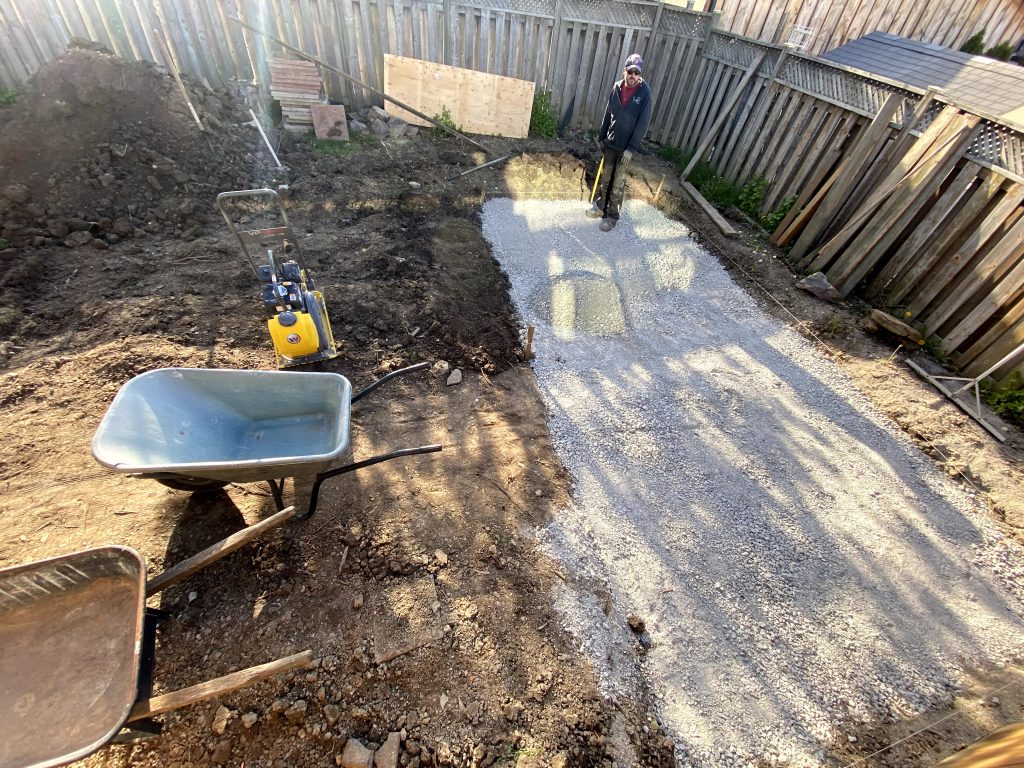

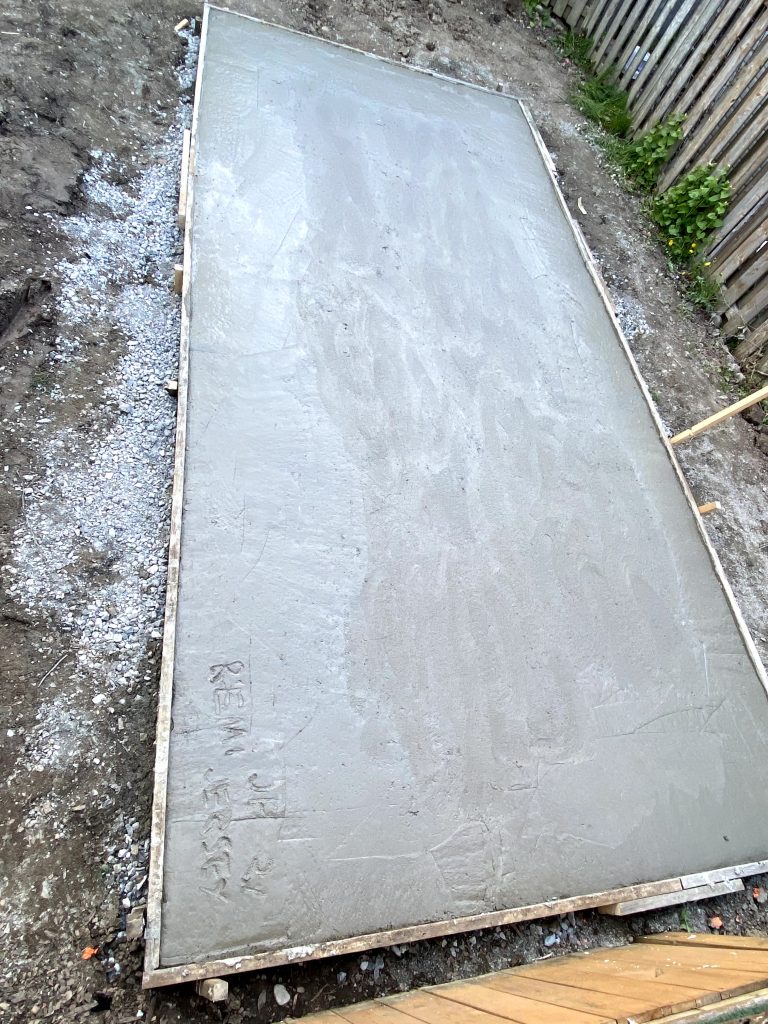
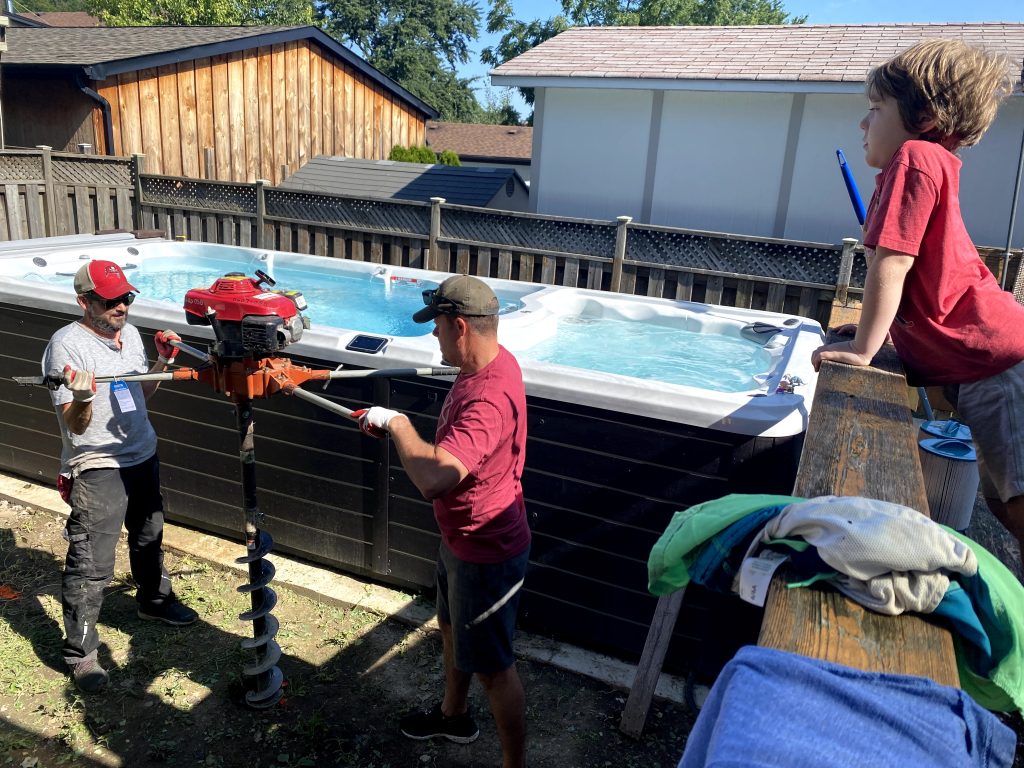
Laying the foundation for our swim spa.

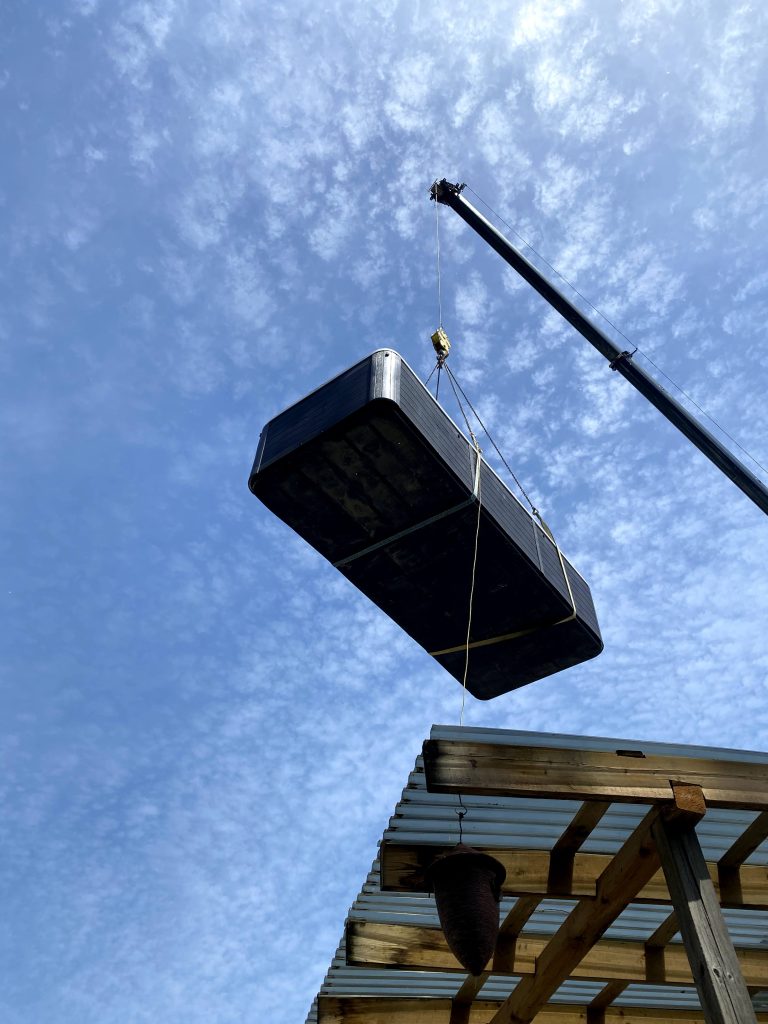
A monumental moment: The swim spa being placed in our backyard.
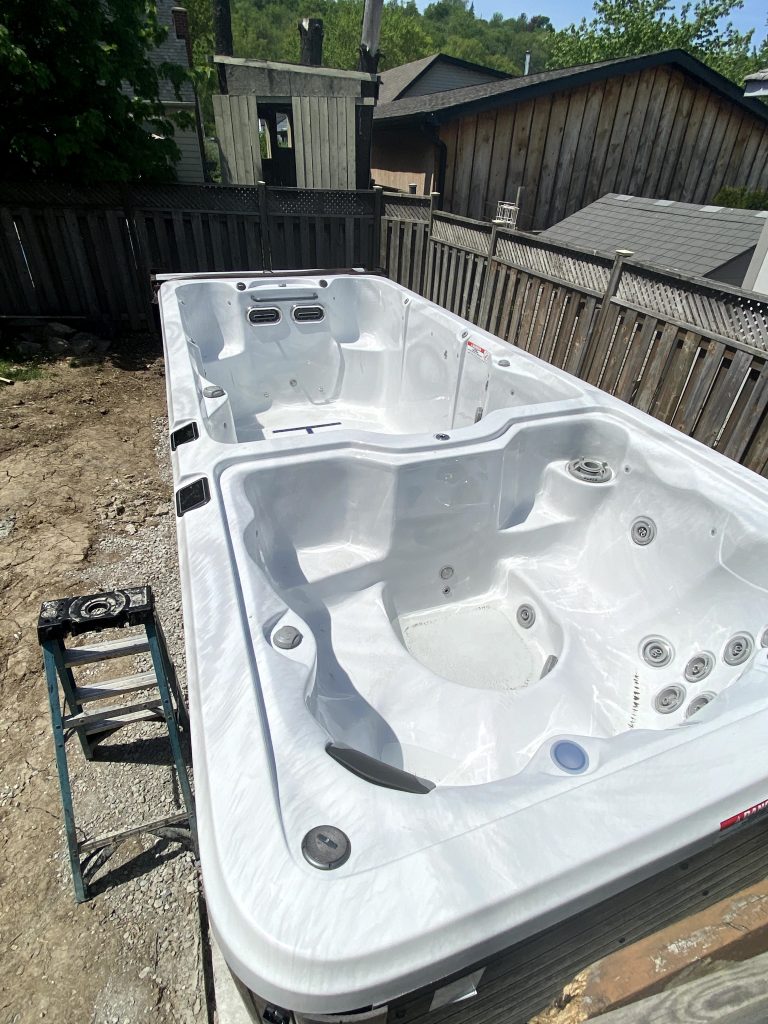

Filling the swim spa up and cleaning out the pipes.
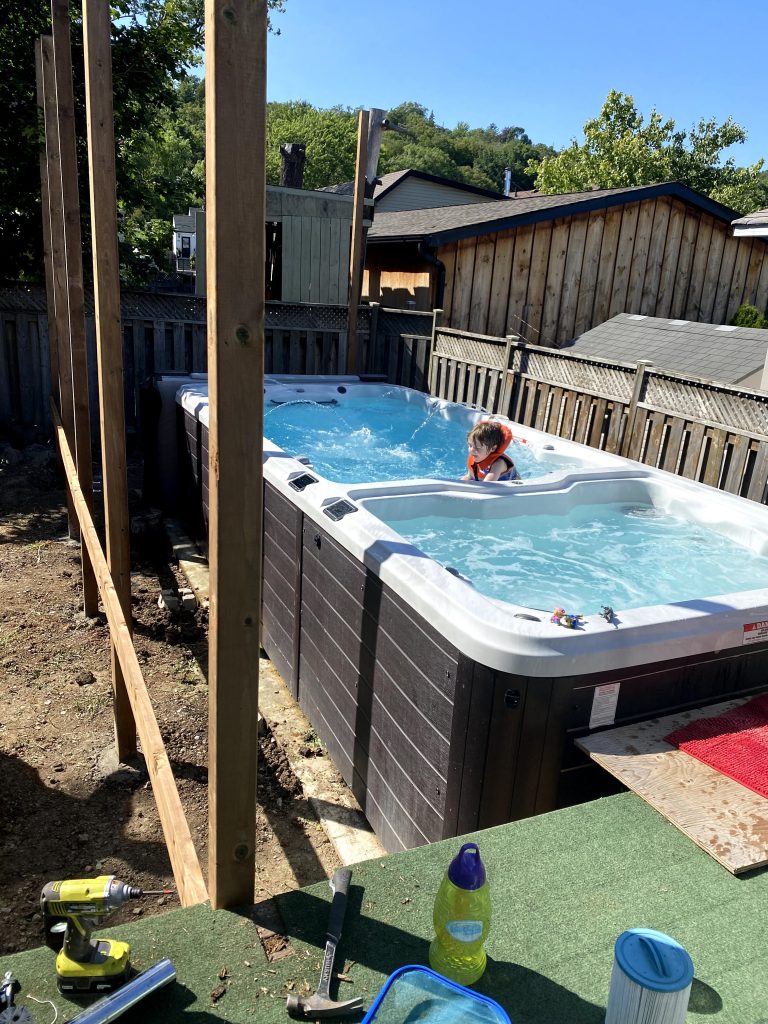
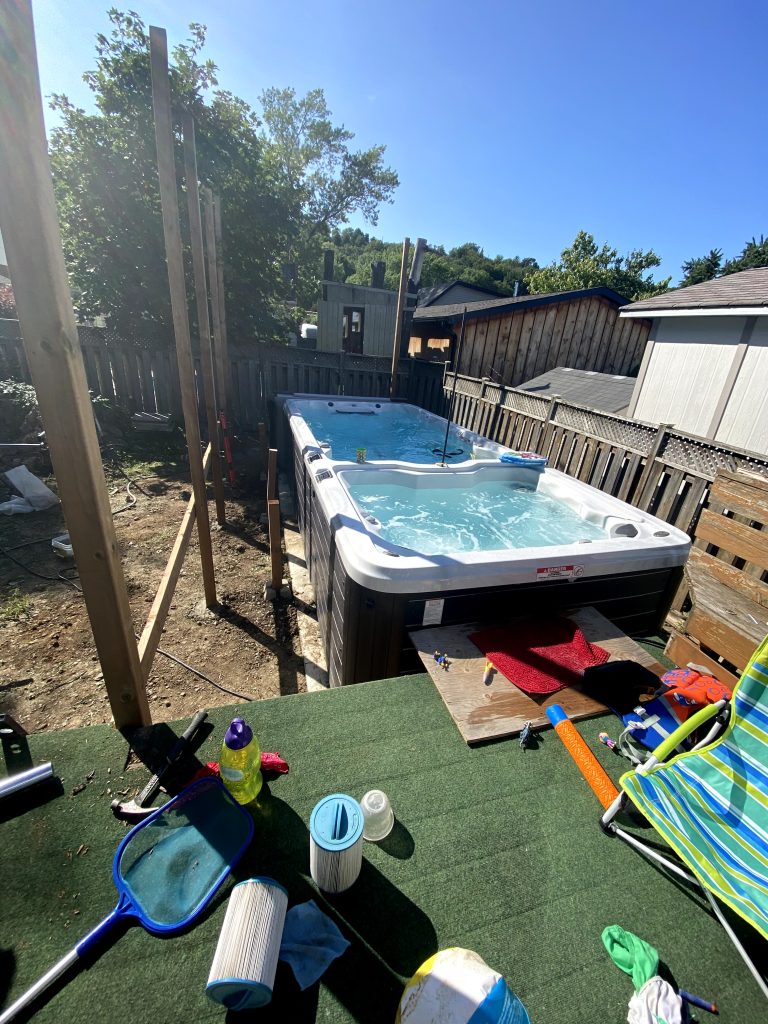
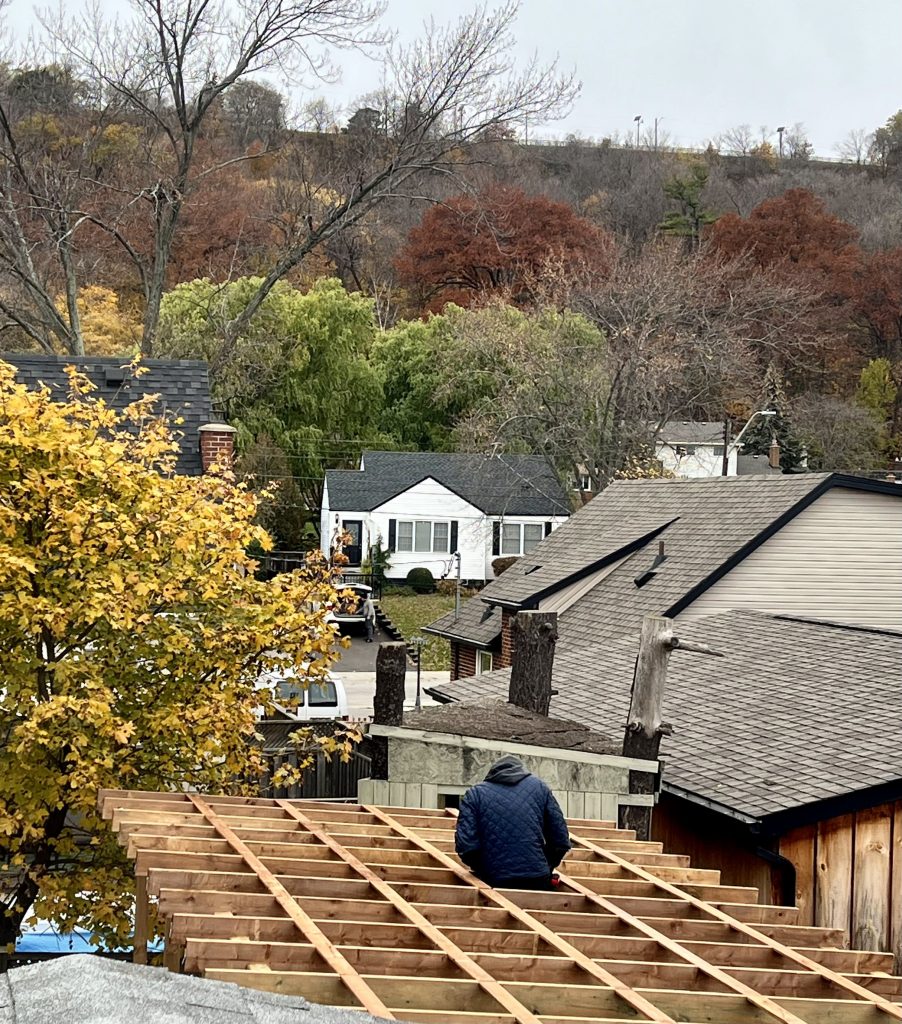
Time to start building the deck.
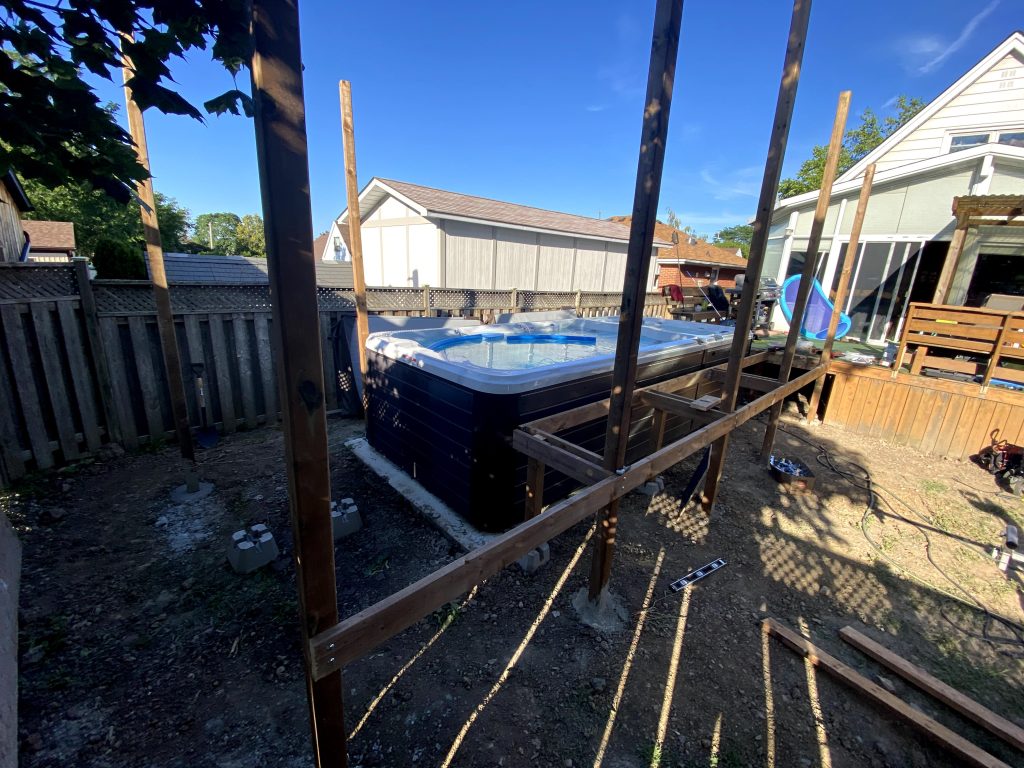

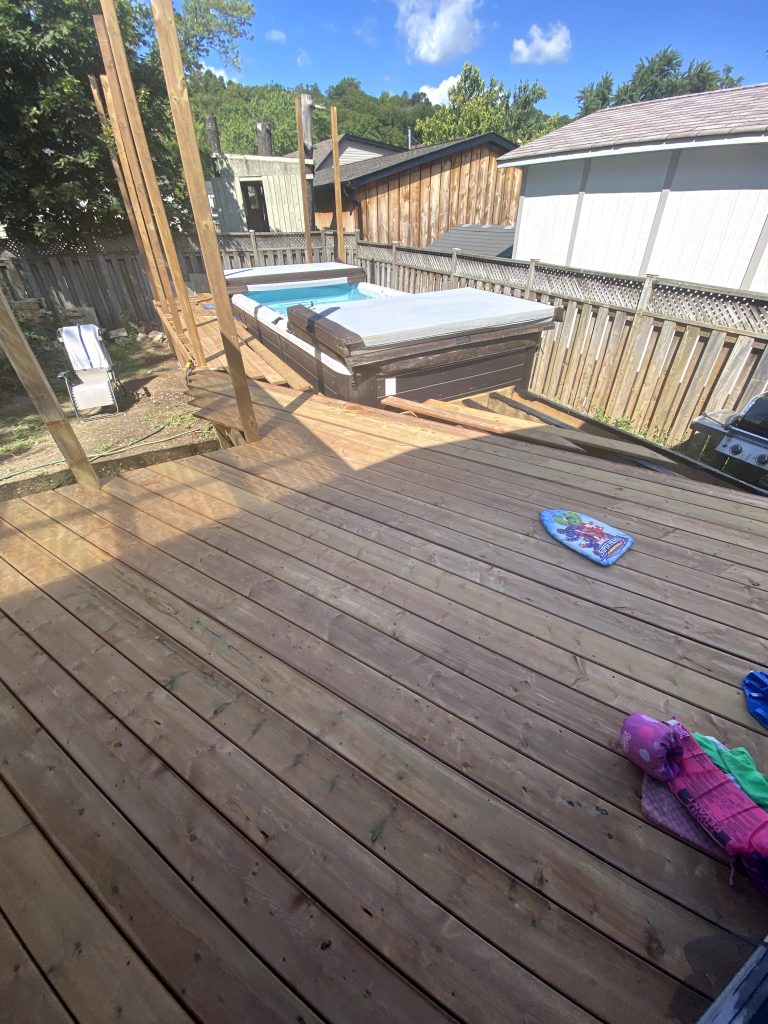
Almost there.
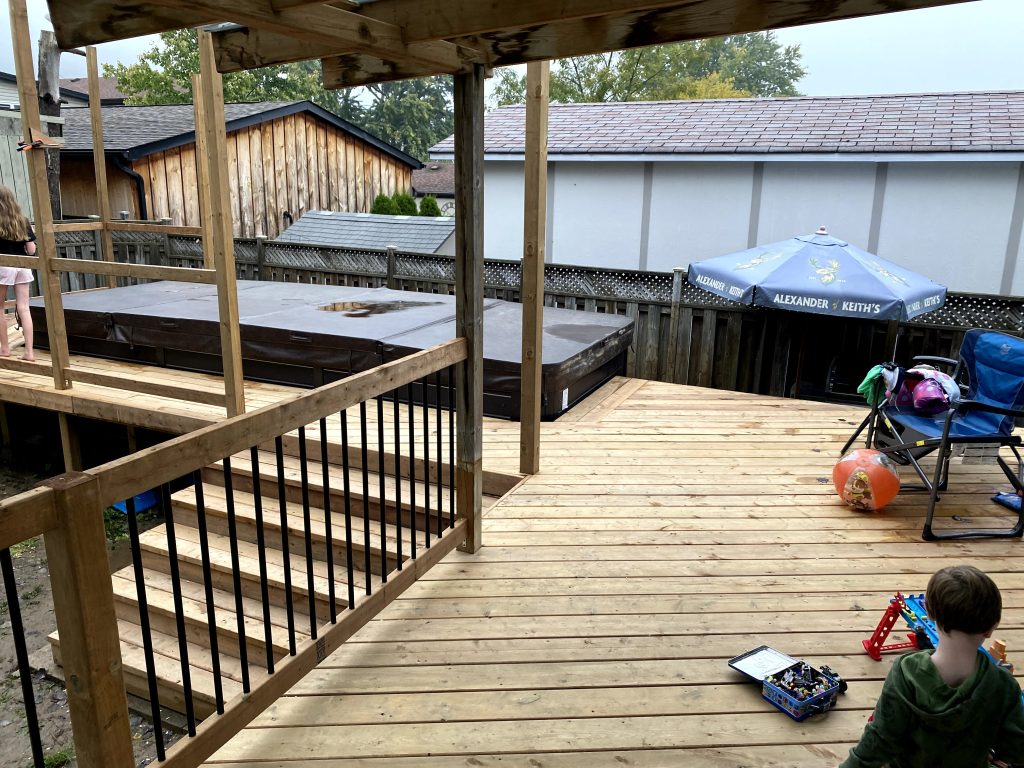
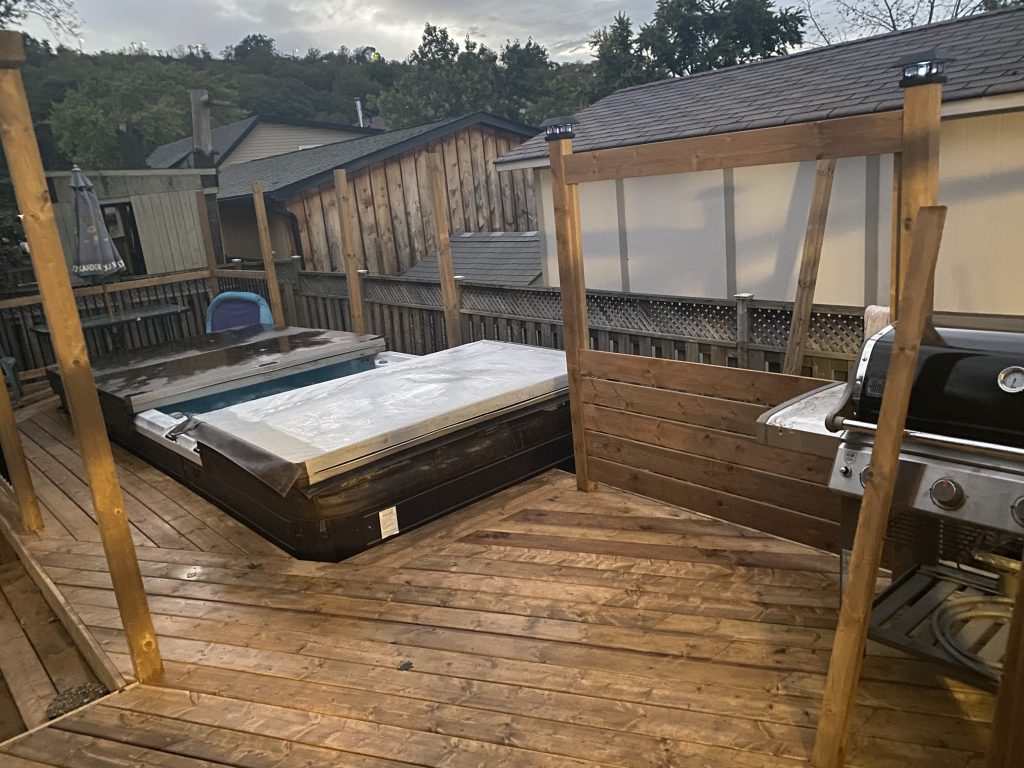
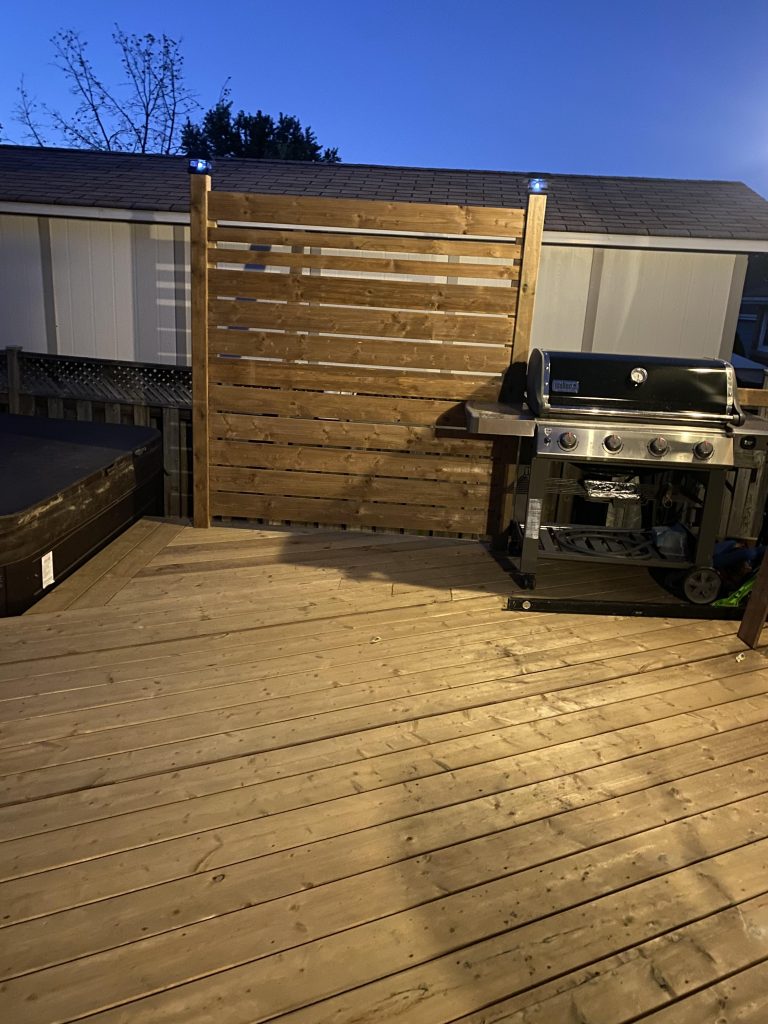
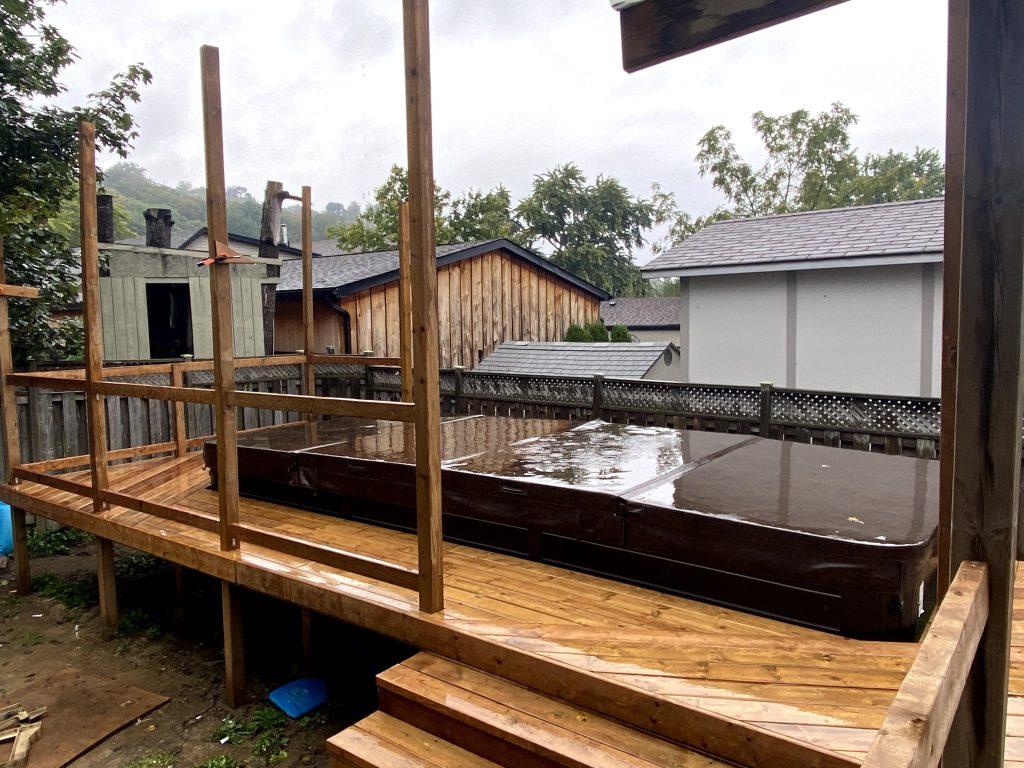
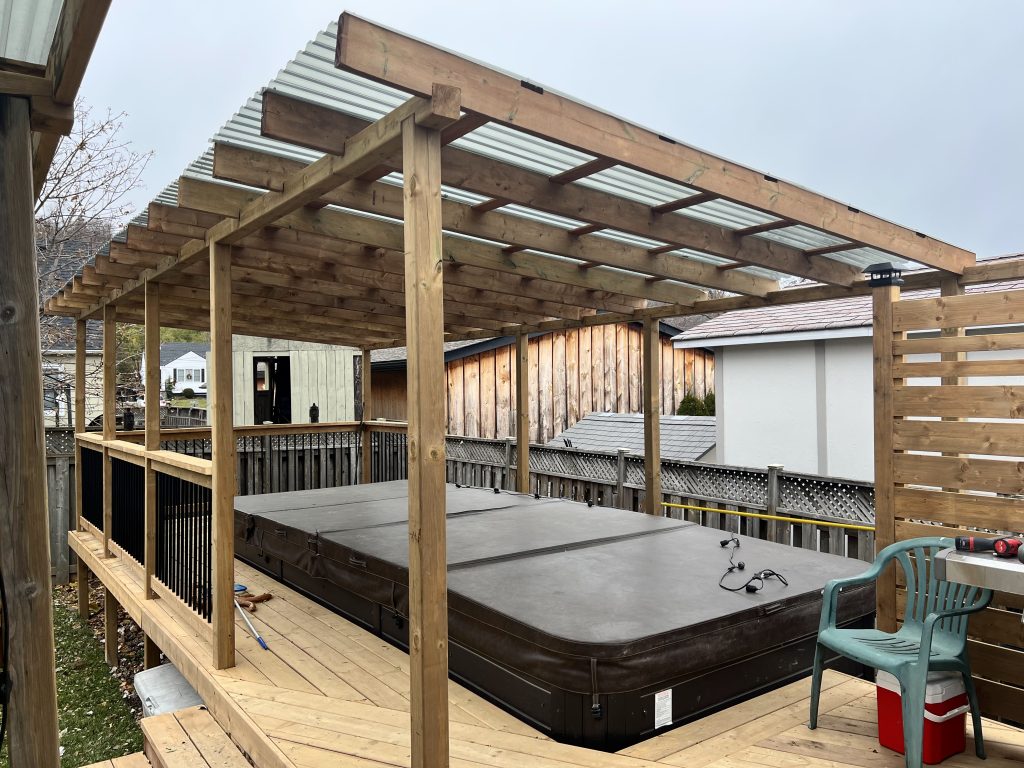
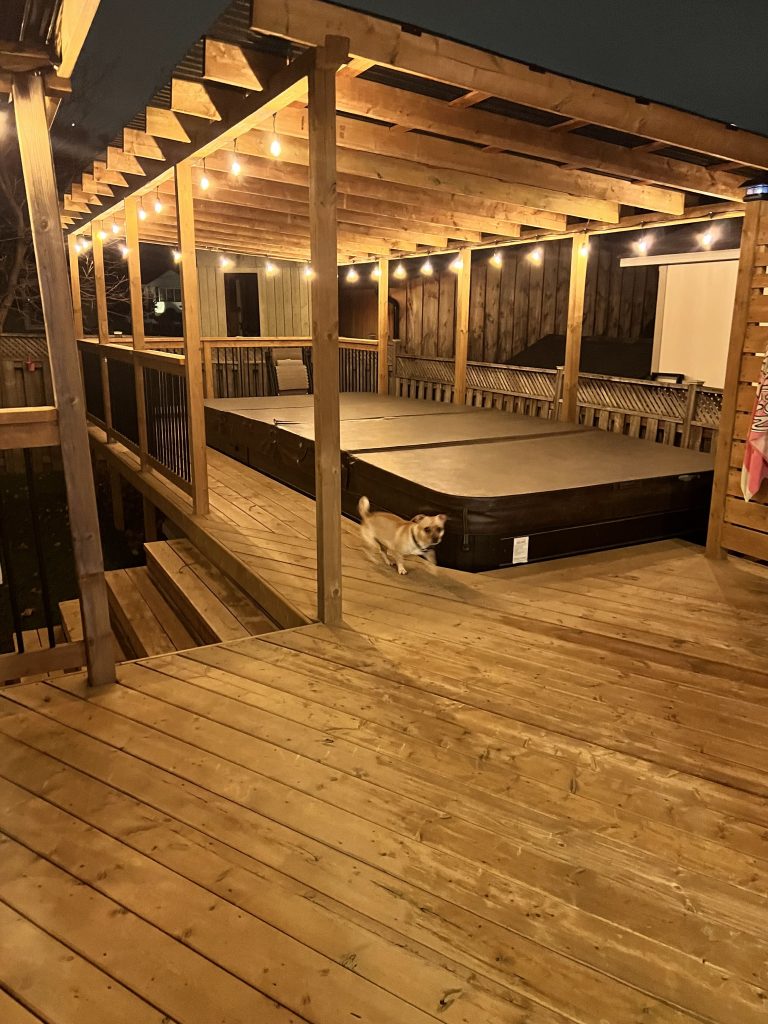
Our swim spa deck, a perfect blend of functionality and aesthetics.
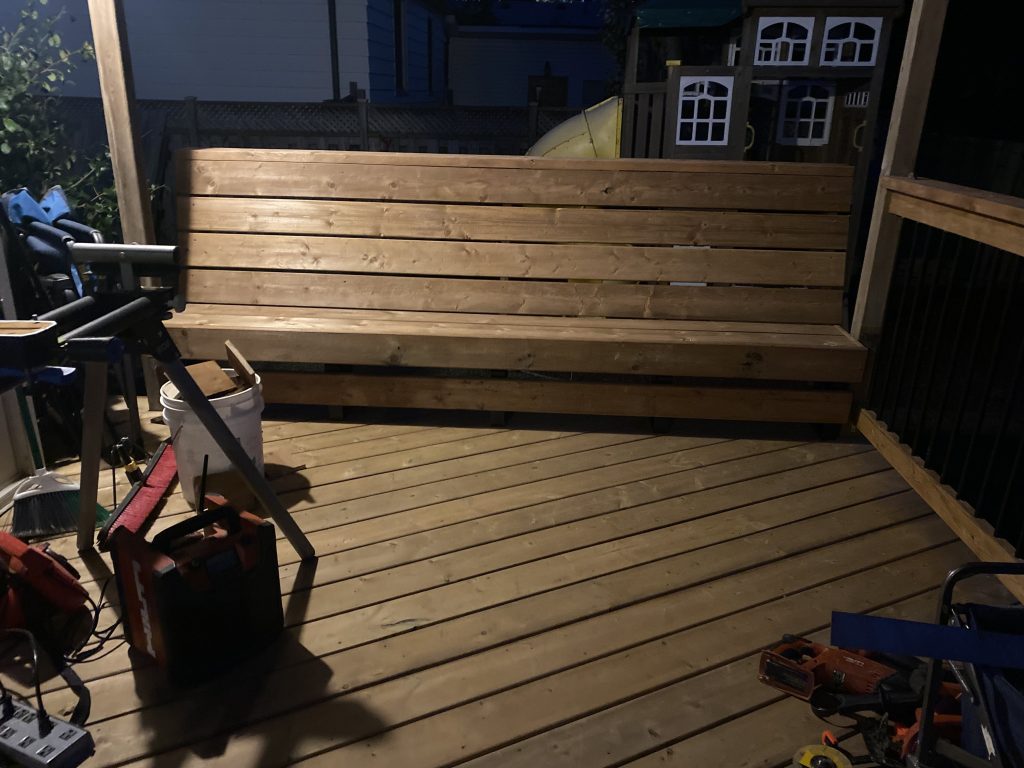

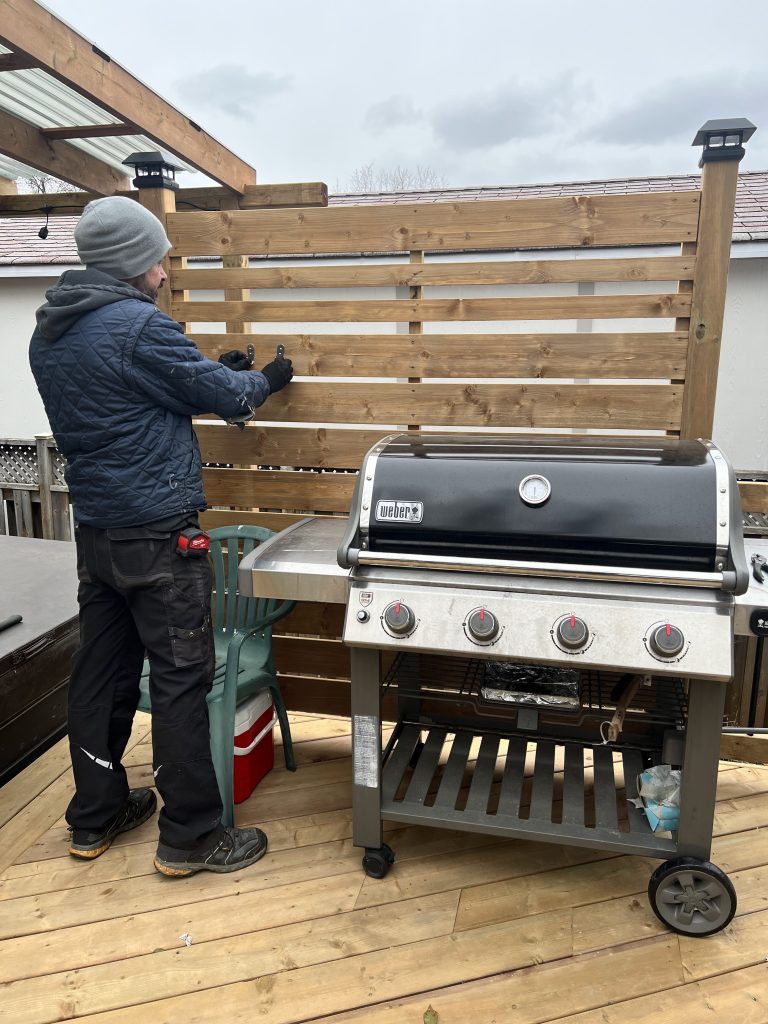
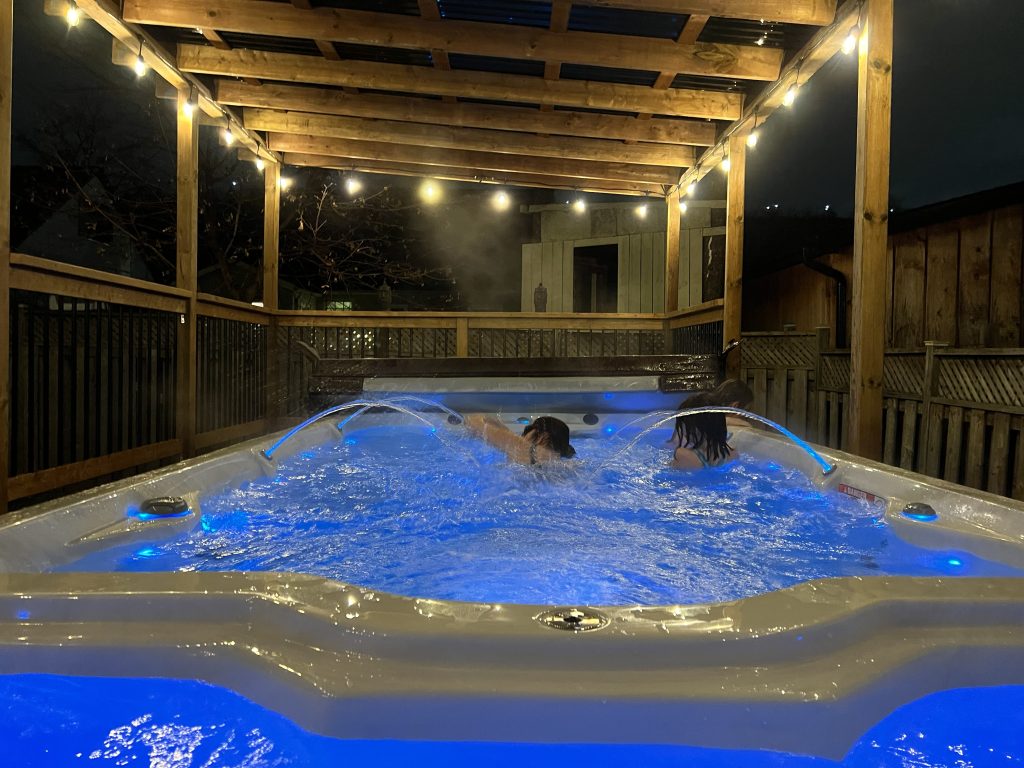
And it’s pretty much done.

Bringing Your Backyard Vision to Life
You don’t need a massive yard, a huge budget, or a professional design team to build a swim spa deck that works. What matters most is planning with intention, knowing how you want to use the space and making decisions that fit your lifestyle.
Our setup wasn’t perfect or expensive. It was built piece by piece, with a lot of measuring, reworking, and problem-solving as we went. But it’s solid, it’s ours, and it gets used constantly, which is more than you can say for a lot of backyard upgrades.
If there’s one takeaway: don’t wait for the “perfect” plan to start. Use what you have. Sketch it out. Build around what matters. And if Minecraft or a free layout tool helps you see it more clearly, don’t be afraid to use it. Your dream setup doesn’t have to look like a magazine spread. It just has to work for your family.
FAQ: Backyard Swim Spa Deck Planning
Do I need a permit to install a swim spa or build a deck around it?
Usually, yes. Permits are often required for both the concrete base and the deck, depending on your local building codes. Always check with your city or township before you start, even for a backyard upgrade.
How much space should I leave around the swim spa?
Leave at least 18 to 24 inches on all sides for maintenance access. If the spa is up against a wall or fence, make sure service panels are still reachable. It’s easier to plan this upfront than to fix it later.
Can I install a swim spa on a sloped yard?
Yes, but it requires extra prep. You’ll need to level the area or build a retaining structure before pouring the concrete pad. Some people build partial retaining walls and backfill, while others install multi-level decks to accommodate the slope.
Is it better to build the deck before or after the spa arrives?
Wait until the spa is in place. Even if you’ve planned everything down to the inch, small adjustments happen during delivery. Building afterward ensures your deck lines up perfectly and keeps access clear for inspection or repairs.
What’s the best material for a swim spa deck?
Pressure-treated wood is affordable and widely used, but composite decking resists rot, warping, and fading much better. It comes down to your climate, budget, and how much maintenance you’re willing to do.