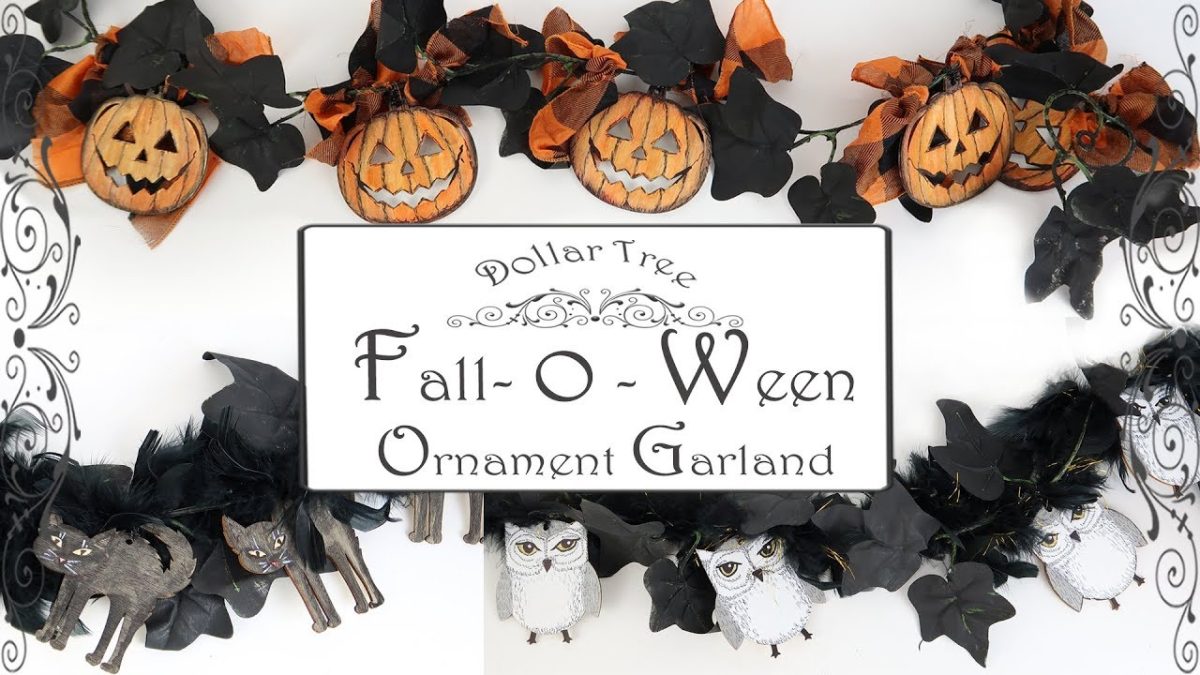
Halloween is just around the corner, and it’s time to get your home into the spooky spirit with a DIY Halloween garland using items from Dollar Tree. Let’s delve into how you can create a stunning garland without breaking the bank.
We are going to be looking at making Halloween garland using affordable fun items for the Dollar Tree or any Dollar store really.
I feel like I am a creative person, but when I look at all the stuff at the Dollar store and try to think of what I would put with what, to make something super spooky and cool, I’m at a loss.
And then I see a YouTube video or a TikTok and they make it look so easy.
So, I’m going to leave it to the wonderful content creators who are the Dollar store experts to show you how this is done.
This video is so amazing, Karem draws the ornaments in a simple enough way that I actually feel like me and my kids could follow along and make these beautifully colored Halloween ornaments.
This looks so amazing. Not all items are from the Dollar store however. So a little bit more on the expensive side, buying the garland from Amazon and then decorating it with dollar store items.
Getting Started with Your DIY Project
Before we dive into the creation process, let’s gather all the necessary materials and tools.
Materials Needed
To create a Halloween garland, you will need to purchase some items from Dollar Tree and gather a few tools.
List of Items from Dollar Tree
- Halloween-themed ribbons
- Plastic spiders or skeletons
- LED string lights
- Artificial leaves or flowers
Tools You’ll Need
- Scissors
- Hot glue gun and glue sticks
- Needle and thread
Step-by-Step Guide to Creating Your Garland
Now that we have all the materials ready, let’s start creating our Halloween garland step by step.
Step 1: Planning Your Design
Before you start assembling your garland, it’s essential to plan your design thoroughly.
Choosing a Theme
Decide on a theme for your garland. It could be spooky with skeletons and spiders or more autumnal with leaves and pumpkins.
Selecting Colors
Choose a color scheme that complements your theme. You might opt for traditional Halloween colors like black and orange or go for something more subtle.
Step 2: Preparing the Materials
Once you have a theme and color scheme in mind, it’s time to prepare the materials.
Cutting and Shaping
Cut and shape the materials as needed. For instance, you might want to cut the ribbons into varying lengths to create a more dynamic look.
Setting Up Your Workspace
Ensure you have a clean and organized workspace to make the assembly process smoother.
Step 3: Assembling the Garland
Now, let’s move on to the exciting part: assembling the garland!
Stringing the Items
Start by stringing the items onto your chosen string or ribbon. You can alternate between different items to create a pattern.
Adding Finishing Touches
Once all the items are strung, add some finishing touches like tying bows or adding lights to enhance the garland’s look.
Tips and Tricks for a Stunning Garland
To ensure your garland looks stunning and lasts long, here are some tips and tricks.
Enhancing the Durability
To make your garland last longer, consider the following tips.
Securing the Items Properly
Ensure that all the items are securely attached to prevent them from falling off.
Choosing Durable Materials
Opt for durable materials that can withstand the test of time.
Recap
We have walked you through creating a Halloween garland using affordable items from the Dollar Tree. We hope you found this guide helpful and are now ready to create your own stunning garland.
Final Thoughts
Remember, the most important thing is to have fun and let your creativity shine. Happy Halloween!
FAQs
- Can I add lights to my garland?
- Yes, you can add LED string lights available at Dollar Tree to illuminate your garland.
- What other themes can I consider for my garland?
- Apart from spooky and autumnal themes, you can consider a magical theme with unicorns and rainbows or a rustic theme with burlap and pinecones.
- Can I involve my kids in this DIY project?
- Absolutely! This project is kid-friendly, and involving your kids can be a great bonding activity.
- How can I hang the garland?
- You can hang the garland using hooks, nails, or adhesive hooks, depending on your preference and the surface you are hanging it on.
- Can I reuse the garland next year?
- Yes, if you use durable materials and store it properly, you can reuse the garland for many years to come.


